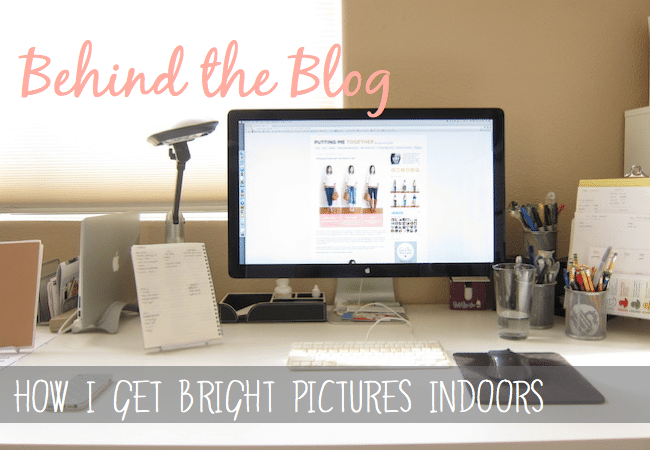
It’s been a while since I’ve written a Behind the Blog post, but I haven’t forgotten about them! Life has been happening, that’s all.
One question I get asked a lot is how I take such bright pictures indoors. I’m actually NOT a good example of this for many, many, many reasons. Overexposed pictures, breaking photography rules…stuff like that. But I’m going to show you anyway, not for a tutorial type of thing that you should replicate–because you really shouldn’t follow my example–but simply just for the sake of interest and curiosity.
Also, this is a HUGE, FAT warning that how I get the pictures I do is mostly a fluke. Really. I wanted to improve the quality of my pictures, so I asked my professional photographer friend to come over and give me some pointers. I showed her what I did, knowing that I was breaking a lot of photography rules, and instead of being able to help me, I actually puzzled her. She walked away wondering how on earth I get the pictures to look the way I do.
Here’s the behind the scenes anyway, but don’t judge me. Especially anyone that knows anything about photography–you might cringe. Cover your eyes and don’t read on!
Camera
First of all, I use a Canon S95. (You can find it a lot lot lot cheaper than that link shows.) It’s not a DSLR, but it’s a point-and-shoot that allows you to have more control of settings than normal. This might change soon, as we just ordered a new camera. But, whatever.
Lighting
The wall I take pictures against is next to a huge window. Because I have a really flexible work schedule many days I can time picture taking when the sun is on this side of the house. (I’ll write about my blogging schedule another time.)
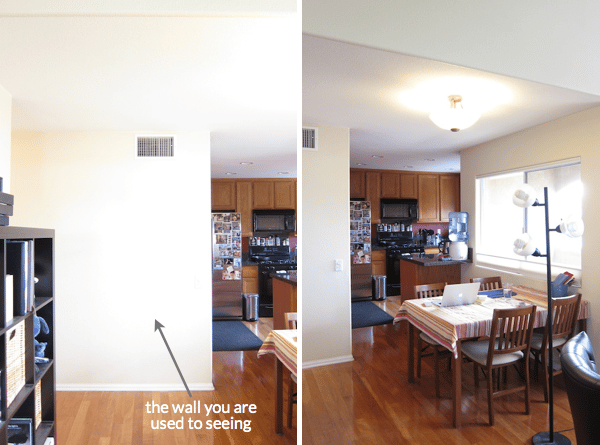
There’s our little kitchen!
In addition to the window I turn on all the nearby lights and bring another lamp over. I’ve read a few articles on soft versus hard light, so I don’t point the lamp directly at myself. Instead I try to bounce light off one of the walls to brighten up the overall space rather than focusing the light directly on me. (This is probably the only thing I would advise you to take away from this whole post. The rest is questionable. 🙂 )
The lighting is still uneven since most of it is coming from my left side…but…eh, it’s good enough. And if you’ve ever wondered why I’m often turned to my right side in side shots, it’s because the light from the window is usually too bright to face.
Camera Settings
This is the part that my photographer friend would rather me not do…

Catch the rest of the Behind the Blog series by clicking here.